
Cardiac arrest is a serious medical situation that requires immediate resolution. For this reason, it helps to own a defibrillator. However, you mustn’t hit the market to purchase one. You can build a homemade automatic defibrillator using a linear actuator and other components.
A homemade automatic defibrillator will work just as well as any other device. It sends a controlled electric current to the heart through the chest to halt cardiac arrest. Since it’s automatic, the device will detect abnormal heartbeats and send currents on its own. That way, you can use it even if you have zero medical experience. Read on as we explain how to build one using a linear actuator.
How to build a DIY Automatic defibrillator using a Linear Actuator
The first thing is setting up the base, which can be a hardwood board. Ensure it’s strong enough to carry the setup. You’ll install the mounting brackets and lead screw to the base. Use couplings to secure them in a fixed, tight position.
Next, connect the nut and push the arm to the lead screw. You’ll place the electrodes inside the push arm so it activates as the nut moves along the lead screw. Also, connect the switches to the electrodes in the push arm. You can either secure them to the base or in a different location for easy access.
At this point, bring in the linear actuator’s battery, electric motor, and inverter. You need the inverter attached to the electric motor to function as a step-up transformer. This ensures a boost in voltage from the battery to deliver sufficient electric shocks.
Connect the ECG sensor and Arduino board to the lead screw terminal strips. You’ll do some wiring here, but it should be straightforward, following the manufacturer’s instructions. Still on that, use the instructions to program the board. Finally, insulate and check that all components are secure. Then, test. If everything is working fine, you have your homemade automatic defibrillator.
Linear actuator function in homemade automatic defibrillators
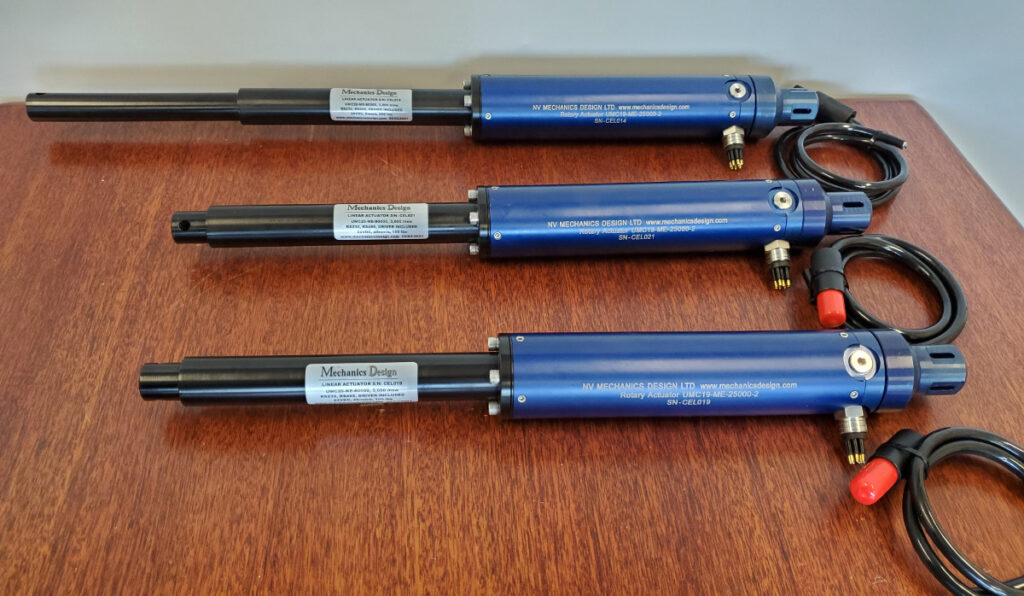
A homemade automated defibrillator built with an electric linear actuator is smaller and much lighter. It’s also more affordable to make and less complex to operate. The video on this page illustrates just how the defibrillator works.
Notably, the actuator delivers an electric shock to the heart via a relatively simple process. You’ll connect the lead screw and nut to the electrodes on the chest. So, as the nut moves along the screw, the defibrillator sends out an electric current.
For the device to be fully automatic, however, you’ll also need an ECG sensor and Arduino board or microcontroller. These components will monitor the patient’s heartbeat and trigger the linear actuator’s shock delivery if there’s any irregularity. You’ll also need an inverter, micro switches, a push arm, mounting brackets, and a mounting base.
Why a Homemade Automatic Defibrillator
Most people will quickly order a conventional defibrillator if they need such a device. That’s workable and reliable. But, challenges and limitations exist, which is one reason why using such defibrillators at home isn’t widespread. We discuss them below.
Size and weight
Most defibrillators are usually heavy and bulky, meaning storing and transporting them around the house will be difficult. It helps when a defibrillator is easily mobile, so it can quickly reach the patient. You get such mobility with a homemade automatic defibrillator.
Cost
Defibrillators are expensive. Making a homemade automatic defibrillator is a more cost-effective option and won’t set you back thousands of dollars.
Availability
Defibrillators are not easily accessible. You could go through a lengthy process to get one, and some — especially ICDs — require a medical recommendation. So, if you need one urgently, your best bet is to set up a homemade automatic device.
Complexity
Using an automated or manual external defibrillator requires training. For ICDs, you obviously cannot implant them if you don’t have the medical know-how. You also need to be familiar with how a defibrillator works to use a homemade automatic one. However, understanding its operation isn’t as complex as AEDs and ICDs. The linear actuator handles most of the job, so with the right device, there’s less to worry about.
Safety Tips When Using a Homemade Automatic Defibrillator
Whether you build the defibrillator yourself or not, there are safety tips you must follow. The device is vital and could have fatal results if not used properly. In that view, stick to the below precautions.
- Ensure the patient is in cardiac arrest before applying the homemade automatic defibrillator. The person should NOT be responsive, breathing, or moving.
- Remove all items around the chest — clothing, jewelry, etc — before using the device. Also, don’t use the defibrillator near any water source or other electrical appliances.
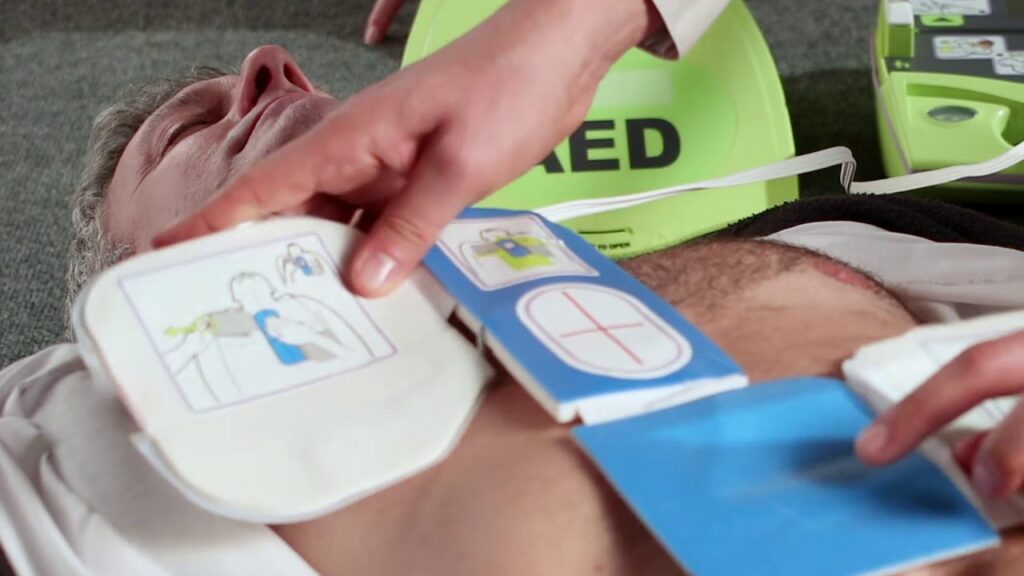
- The electrodes should not touch each other when you attach them to the patient’s chest. Also, if the chest is wet or sweaty, wipe it dry.
- Deliver only one shock at a time. In between, check the patient for any sign of life. Don’t repeatedly deliver many shocks.
- Avoid using the device on kids. If you must, get pediatric pads for the electrodes.
Conclusion
You can save life at home with the help of a homemade automatic defibrillator. Creating one is easy with a linear actuator, although all other components must also be quality. Furthermore, follow the safety tips when using the device to avoid worsening the situation.


")